A Comprehensive Guide to Removing Backgrounds in Procreate
Before delving into the details of how to remove a background in Procreate, it is essential to understand the concept of layers in digital art. Layers can be seen as transparent sheets stacked on top of each other, each containing different parts of your artwork. This allows for individual modifications without affecting other elements of the design.
Procreate employs this layer-based workflow. When you import an image, it occupies one layer, and any additions or subtractions (like background removal) occur on this layer. Working with layers is key to non-destructive editing, providing the flexibility to modify or completely delete elements without influencing the rest of the artwork.
The Process of Removing Backgrounds in Procreate
Step 1: Import Your Image
- Launch the Procreate application on your iPad. Once it’s open, you’ll be presented with your gallery. This is where all your artworks are stored;
- To start a new project, tap on the ‘+’ sign in the top right corner of your screen;
- You’ll see different canvas size options. Select the one that suits your needs. Remember that a larger canvas allows for more detail but requires more processing power;
- Your new canvas is created, and it’s time to import your image. To do this, click on the wrench icon located in the top left corner of your screen. This opens the Actions panel;
- In the Actions panel, click on ‘Add’ and then ‘Insert a photo’. Your iPad’s photo library will pop up.
- Navigate to the desired image in your photo library and tap on it to import it into your canvas.
Step 2: Layer Management
The process of removing a background in Procreate is made simpler with effective layer management. Here’s a detailed guide on how to manage your layers when trying to remove a background:
- Tap on the two overlapping squares on the top right of your screen. This symbolizes the Layers panel and will open it up;
- Within the Layers panel, you’ll see that your imported image sits on one layer labeled ‘Layer 1’. This layer contains your original image;
- To create a new layer for the background, tap the ‘+’ sign located at the top right corner of the Layers panel. This will add a new layer above ‘Layer 1’;
- We’ll label this new layer as the ‘Background Layer’. To rename the layer, tap on the current layer’s name (e.g., “Layer 2”), and a keyboard will pop up allowing you to enter the desired name;
- To position the ‘Background Layer’ beneath ‘Layer 1’ in the layer hierarchy, long-press on the ‘Background Layer’ and drag it downwards. Release your finger when the ‘Background Layer’ is positioned below ‘Layer 1’.
By following these steps, you can effectively manage your layers in Procreate, specifically creating a separate layer for the background and positioning it beneath the original image layer (‘Layer 1’). This layer management setup will facilitate the background removal process.
Step 3: Eraser Tool
Procreate provides a robust selection of tools to aid in editing and creation. When it comes to removing backgrounds, the Eraser tool is often the go-to choice. Here’s a detailed guide on how to effectively use the Eraser tool:
- Tap on the Eraser symbol, located in the top-right corner of the toolbar. This will activate the Eraser tool and allow you to start removing parts of the image;
- After selecting the Eraser, you have the option to choose different brushes that the eraser will mimic. To access the brush options, tap on the brush icon located in the toolbar;
- Tapping on the brush icon will reveal a variety of brushes that you can use with the eraser. These brushes offer different textures and effects. Take a moment to explore the available brushes and choose one that suits your image and desired editing style;
- Choose a brush suitable for your image. For example, if your image has a lot of sharp, straight lines, you might want to choose a hard brush that provides precise erasing. On the other hand, if your image has a lot of curves or softer edges, a softer brush with smoother transitions may be more suitable;
- Adjust the brush size and opacity to achieve the desired erasing effect. To do this, slide the ‘Size’ and ‘Opacity’ sliders located in the toolbar. Moving the sliders left or right will decrease or increase the size and opacity of your eraser tool, respectively. Find the settings that work best for the specific areas you are erasing.
By following these steps, you can effectively utilize the Eraser tool in Procreate to remove the background from your image. Experiment with different brushes, sizes, and opacities to achieve the desired editing outcome.
Step 4: Erasing The Background
With the Eraser tool selected and adjusted, you can now begin the process of erasing the background of your image. Here’s a detailed guide on how to proceed:
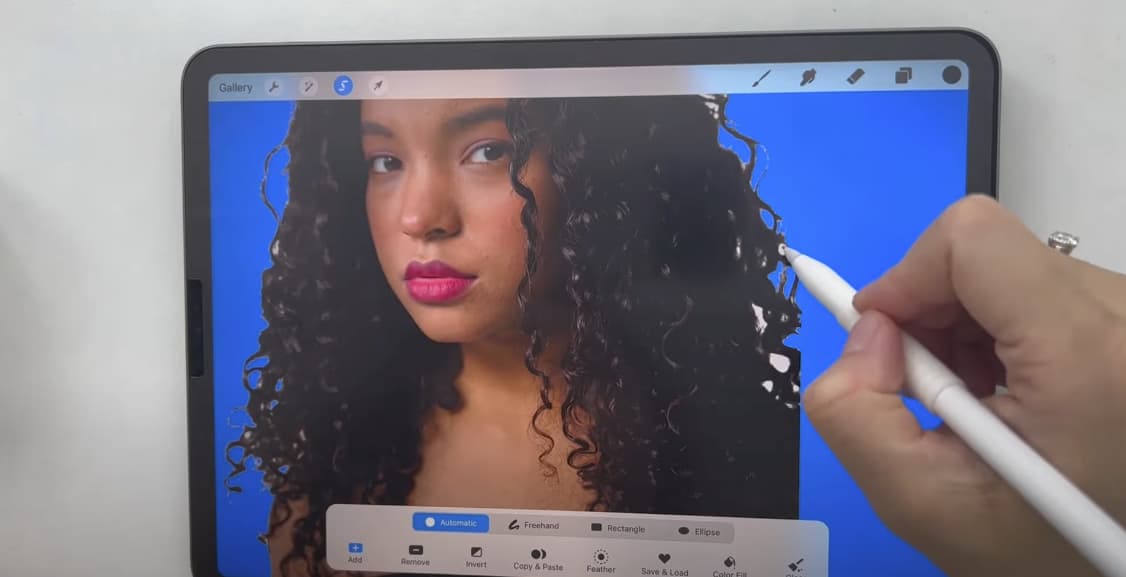
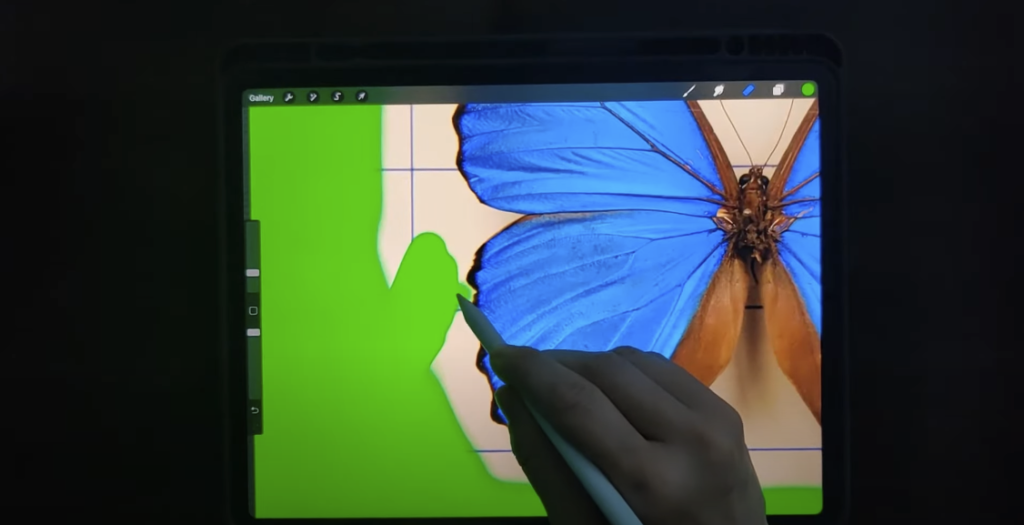
- Carefully start erasing the background by tracing over the areas you want to remove. Use your Apple Pencil or your finger, depending on your preferred input method. Take your time and be precise to avoid accidentally erasing parts of the image that you want to keep;
- If your image has intricate details or fine elements, it might be easier to zoom in for more precise erasing. To zoom in on your canvas, use the pinch-out gesture by placing two fingers on the screen and spreading them apart. This will allow you to get a closer view of the image and work on smaller areas with greater accuracy;
- In case you make a mistake while erasing, there’s no need to worry. Procreate provides an easy way to undo your last action. Simply tap on your canvas with two fingers to activate the undo function. This allows you to revert to the previous state and correct any accidental erasures or mistakes.
Here’s a bullet list summarizing the steps:
- Carefully trace over the areas you want to remove, using your Apple Pencil or finger;
- Take your time and be precise to avoid erasing parts you want to keep;
- Zoom in on the canvas using the pinch-out gesture for intricate details;
- If you make a mistake, tap on the canvas with two fingers to activate the undo function.
By following these steps, you can effectively use the Eraser tool in Procreate to erase the background of your image. Remember to be patient and attentive during the process to achieve the desired result without inadvertently removing important parts of the image.
Step 5: Precision and Detailing
After removing the majority of the background, you’ll want to refine your image for a professional and polished look:
- For precise erasing around intricate parts of your image, you might need to switch to a smaller brush. This can be done by adjusting the ‘Size’ slider;
- For areas where the image and the background have similar colors, reducing the ‘Opacity’ slider can be helpful.
| Tools | Description |
|---|---|
| ‘+’ Sign | Opens new canvas options |
| Wrench Icon | Opens Actions Panel |
| Two Overlapping Squares | Opens Layers Panel |
| ‘+’ in Layers Panel | Adds a New Layer |
| Eraser Symbol | Opens Eraser Tool |
| Brush Icon | Displays Brush Library |
| ‘Size’ Slider | Adjusts Size of Brush |
| ‘Opacity’ Slider | Adjusts Opacity of Brush |
Step 6: Saving and Exporting
After putting meticulous work into your image, it’s essential to save and export it to preserve your progress and share it with others. Follow these detailed steps to save and export your image in Procreate:
- Tap on the wrench icon located in the top-left corner of your screen. This will open the Actions Panel, where you can access various options for managing your project;
- Within the Actions Panel, tap on the ‘Share’ option. This will bring up a menu of sharing and export options for your image;
- In the sharing menu, you will have the opportunity to select the file type for your exported image. For images with transparent backgrounds, it is generally recommended to select the ‘PNG’ file format. This format retains the transparency information, allowing for a clean and professional look when the image is used in other applications or platforms;
- After choosing the file type, you can specify the destination or location where you want to save your image. This can be your iPad’s photo library, a cloud storage service, or any other location accessible to you. Tap on the appropriate option and navigate to the desired folder or destination;
- Once you have selected the destination, tap on the ‘Save’ or ‘Export’ button to finalize the process. Procreate will save your image as a PNG file with a transparent background and store it in the chosen location.
By following these steps, you can successfully save and export your image in Procreate, ensuring that your hard work is preserved and ready to be shared or used in other applications.
Conclusion
Removing a background in Procreate may initially seem complex due to the absence of a one-click feature, but with a firm grasp of the tools and techniques, such as effective layer management and the use of the eraser tool, it can be accomplished efficiently and effectively. As you continue practicing and experimenting with these tools, you’ll find the process becoming easier, allowing you to elevate your digital art skills and further express your creativity.
Remember, the journey of mastering digital art involves making mistakes and learning from them. With Procreate’s forgiving nature, such as its easy undo feature, you’re encouraged to try new things and learn. Every mistake is a step forward in your creative journey.
FAQS
Yes. Using the ‘History’ slider in the Layers panel, you can go back to any previous state of your image.
Add a new layer beneath your image layer, choose a color from the Color panel, and use the Fill tool to color the layer.
Yes, you can. It works best when there is a high contrast between the background and the image.