Cutting Shapes and Images in Figma: Mastering Precision
In the realm of modern design, Figma has emerged as a beacon of innovation, providing designers with a collaborative and intuitive platform that has gained global recognition. Amidst its diverse array of tools, the skill of cutting shapes and images holds a significant place, a practical technique that every designer should be adept at. In this in-depth guide, we’ll dive into the nitty-gritty of cutting within Figma, breaking down the step-by-step process that transforms basic shapes and images into refined design elements with a compelling visual impact.
No matter your level of expertise, you’re familiar with the fact that the design landscape is constantly evolving. Figma embodies this evolution, offering a canvas where creativity knows no bounds. As we unravel the art of cutting, we’re not just slicing through shapes and images – we’re uncovering a process that can breathe life into your designs. Whether you’re a seasoned designer or just starting out, this guide is your roadmap to mastering the technique of precision cutting.
As you journey through the contents ahead, think of Figma’s interface as a toolkit – one that combines the practical and the creative seamlessly. We’ll break down the Scissors tool’s mechanics, exploring its functions in detail. By understanding the ins and outs of cutting, you’ll see how this seemingly simple action can transform the ordinary into something extraordinary, shaping your designs into visual stories that engage your audience.
Every cut you make is a brushstroke, a stroke that paints a part of the bigger picture. From basic shapes to intricate images, each one contributes to the final narrative. This guide will take you through the steps, equipping you with the skills to wield Figma’s cutting techniques like a pro.
So, let’s dive into the practical world where creativity meets precision. As you follow along, remember that mastering cutting in Figma isn’t just about removing elements – it’s about refining your designs, making them visually captivating, and enhancing their impact on your audience.
Step 1: Getting Your Workspace Ready
Let’s kick off this practical journey into the world of Figma by getting your workspace all set up. Whether you’re a seasoned designer or just starting, this first step is crucial to ensure you’re all geared up for the design adventure ahead.
Begin by launching Figma – if you already have a project in the works, open it up; otherwise, start a new one. This canvas is your playground, where you’ll be slicing, dicing, and crafting your shapes and images. Think of it as your design workshop, ready to bring your ideas to life.
Before you dive into the intricacies of cutting shapes and images, take a moment to familiarize yourself with the space. Figma’s interface is designed for efficiency and creativity, providing you with the tools you need at your fingertips. Whether you’re working solo or collaborating with a team, this canvas is your blank canvas, waiting for your creative touch.
So, as you launch your canvas, get ready to immerse yourself in the world of design possibilities. It’s not just about opening an app – it’s about unlocking your creativity, testing your skills, and ultimately bringing your concepts to fruition. Your canvas is the foundation of your design journey, the space where your ideas will take shape, quite literally.
With your workspace ready and the canvas before you, you’re all set for the journey ahead. The steps you take from here on will transform simple shapes and images into intricate designs, all within the realm of Figma’s versatile interface. So, let’s move on to the next step and start shaping your creativity!
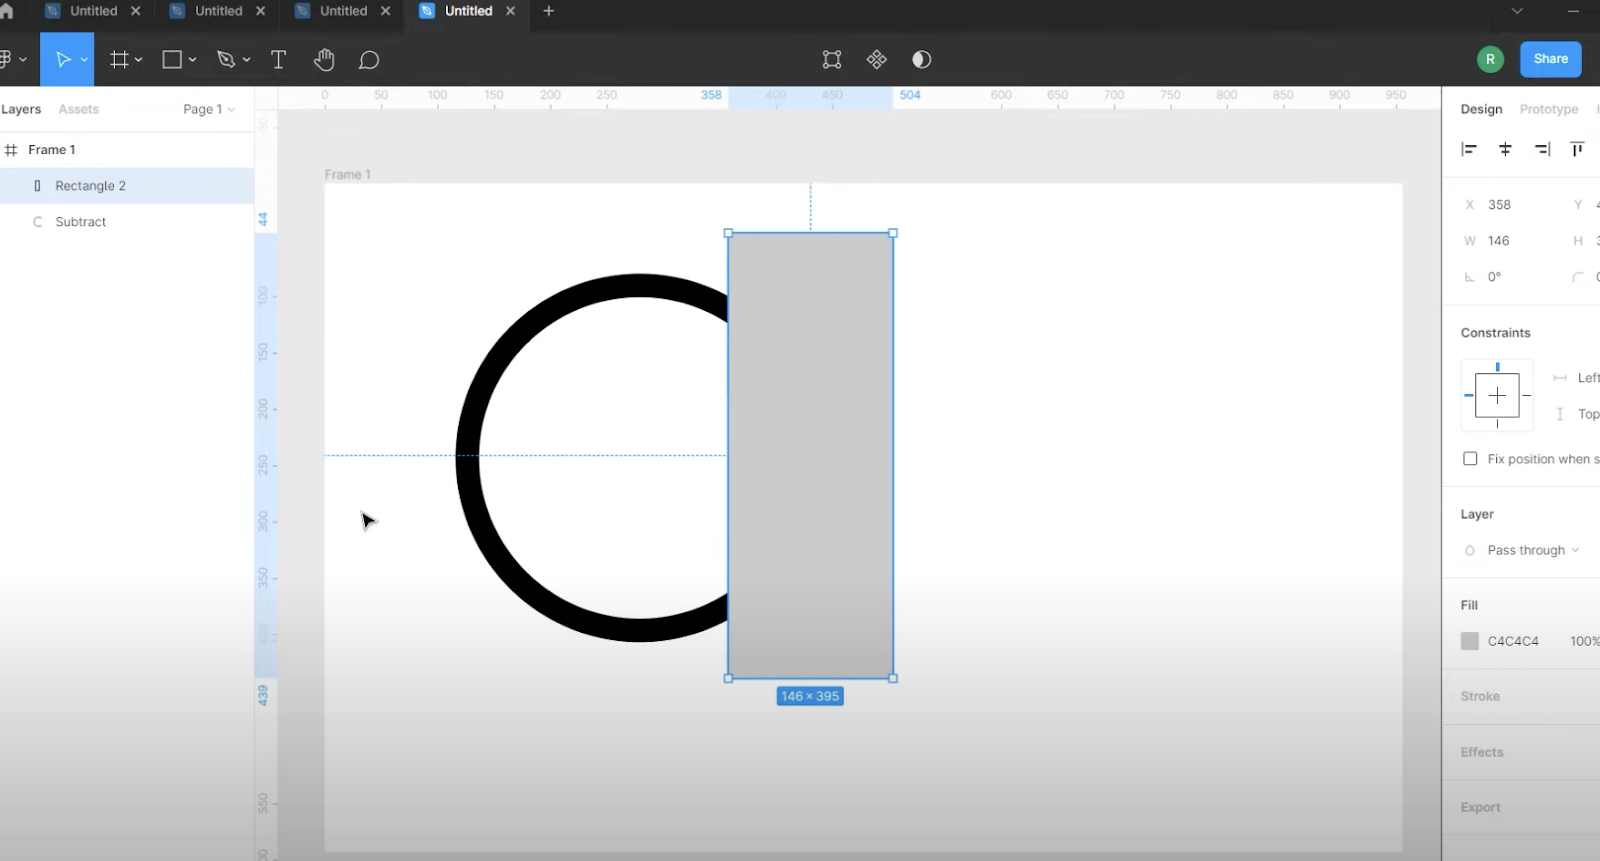
Step 2: Selection is Key
A single click can spark a design transformation. Highlight the shape or image that’s poised for evolution. As your selection locks into place, the canvas becomes your playground for artistic exploration.
Step 3: The Scissors Unveiled
Behold the Scissors tool, nestled elegantly in the toolbar’s embrace. With a simple click on its icon, you activate a gateway to design precision, ready to sculpt your vision.
Step 4: Navigating Cuts
Hover your cursor over the shape’s edge, a dance of anticipation for what’s to come. A gentle click triggers a cut, igniting a creative spark that divides the shape into fragments, each holding potential for unique expressions.
Step 5: Crafting Segments
As you glide your cursor, clicks cascade like notes in a melody, punctuating the shape’s edge. Figma weaves an intricate path, aligning with your artistic intuition. Completing the journey by clicking the starting point, you’ve woven segments that beckon creativity.
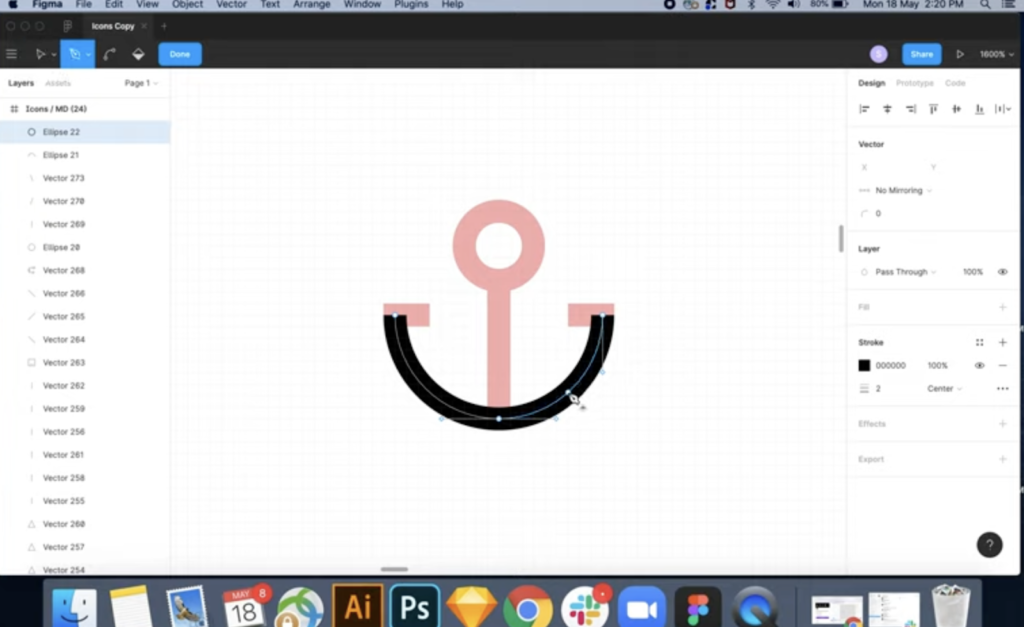
Step 6: The Delicate Dance of Anchor Points
Anchor points, the connective tissue of design, beckon your attention. Engage with these points to refine your segments, reshaping them to amplify your narrative’s elegance. This dance of details elevates your design from good to breathtaking.
Step 7: Slicing Images into Stories
Images, vessels of visual storytelling, deserve the same precision. Unveil the Scissors tool’s prowess with images, guiding it along edges that define narratives. Follow the rhythm of cuts as your images transform, revealing tales through segments.
Step 8: Erasing Boundaries
Undo, transform, reimagine. Select and press the “Delete” key, watch as boundaries dissolve, allowing design evolution to unfold. Figma grants the freedom to reimagine, redefine, and reinvent.
Step 9: Arranging the Symphony
Segments, like notes in a symphony, find harmonious alignment. Group them, arranging their rhythm to resonate with your vision. Figma’s canvas becomes a conductor’s podium, orchestrating the convergence of creativity.
Step 10: Nurturing Your Creation
With every stroke, a masterpiece takes shape. As your design flourishes, save your creation, preserving its essence for future iterations. Export it, sharing your brilliance with the world.
Unleash Your Inner Design Maverick
Amid the journey of cutting shapes and images, Figma’s canvas becomes an arena for expression, a realm where imagination breaks barriers. As you familiarize yourself with layers, experiment with path operations, and embrace shortcut keys, your artistic prowess flourishes.
Embarking on Future Horizons
In this guide, we’ve unveiled the transformative power of cutting shapes and images in Figma. Yet, the journey has only begun. Your mastery of these techniques is the key to unlocking unparalleled creative potential. Through layers of refinement, your designs can evolve into living narratives, leaving indelible imprints on the canvas of creativity.
Conclusion: Unleashing Creativity Through Precision
In wrapping up our exploration of cutting shapes and images in Figma, it’s evident that this technique offers more than just design skills – it’s a practical process that empowers your creative toolkit. Each step we’ve taken has added a valuable layer to your design abilities, equipping you with the means to manipulate and enhance your visual creations effectively.
In the realm of digital design, Figma stands as a powerful canvas, and the Scissors tool is your versatile instrument for refining and reshaping elements. As you’ve learned, precision matters just as much as creativity. Every cut is a deliberate move, a chance to mold your designs with accuracy and intention.
Consider your canvas a digital workshop where you’re not just a designer, but a craftsman. With each cut, you’re chiseling away the unnecessary and refining your visual masterpiece. Your understanding of this process allows you to take control over shapes and images, making them fit your vision flawlessly.
Remember, this isn’t about merely snipping away; it’s about crafting your designs with purpose. Figma empowers you to bring your ideas to life through tangible steps. The Scissors tool, along with your newfound knowledge, is your vehicle for innovation.