
Mastering Text Vectorization in Adobe Illustrator
Vectorizing, a process of converting raster graphics into vector graphics, is an essential tool in a designer’s toolbox. This operation transforms your text into paths, which consist of anchor points and path segments, allowing for seamless scaling and manipulation without compromising the image quality.
There are several reasons why vectorizing text is a fundamental step in graphic design:
- Uncompromised Quality: Unlike raster graphics, vector graphics can be resized without any loss in quality. Whether you’re scaling up for a billboard or down for a business card, the text remains crisp and clear;
- Flexibility in Editing: Once the text is vectorized, it can be manipulated in myriad ways. Each character can be customized, providing unparalleled control and creative flexibility;
- Compatibility and Versatility: The vectorized text is widely compatible with various applications and is favored in printing processes. This compatibility makes vector graphics a preferred choice in design.
Step-by-Step Guide to Vectorizing Text in Adobe Illustrator
Vectorizing text in Adobe Illustrator is a straightforward task, achievable in just a few steps. The process is detailed below:
| Step | Description |
|---|---|
| 1 | Start Adobe Illustrator: Launch the application on your computer. |
| 2 | Initiate a New Document: Navigate to “File” > “New” to open a fresh canvas. A dialog box appears, allowing you to specify your desired settings such as width, height, and color mode. After entering the settings, click “Create”. |
| 3 | Type Your Text: Select the “Type Tool” from the toolbar, alternatively, you can press “T” on your keyboard. Click anywhere on the artboard to activate the text box and type your desired text. |
| 4 | Select a Font Style: Highlight the text you’ve just typed. Navigate to the “Character” panel and choose a font that fits your design. You can further adjust the font size, line spacing, and other text properties at this stage. |
| 5 | Vectorize Your Text: With the text still highlighted, navigate to “Type” > “Create Outlines”. This action will convert your text into a vector, represented by outlines around the characters. |
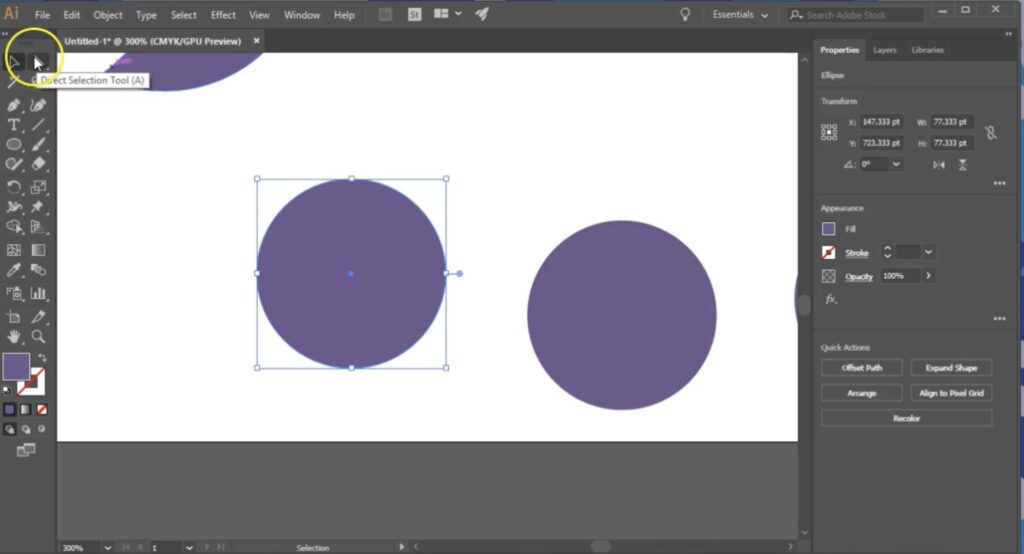
| 6 | Inspect and Customize Your Text: Once vectorized, the text appears outlined. You can now manipulate individual letters or elements. If you want to make further adjustments, the “Direct Selection Tool” (A) allows you to move, resize, or reshape individual vector points. |
Pro Tips for Successful Text Vectorization
To ensure a smooth and efficient text vectorization process, consider the following tips:
Conceptualize Your Design
Before embarking on the vectorization process, it is crucial to conceptualize your design and have a clear vision in mind. To ensure a smooth transition from concept to vector, consider the following steps:
- Text Content: Familiarize yourself with the text that will be incorporated into the design. Understand its purpose, meaning, and any specific requirements;
- Font Style: Determine the desired font style that best aligns with the design’s tone and message. Consider factors such as readability, elegance, and uniqueness;
- Intended Size: Define the size at which the vectorized design will be presented or used. This will help you determine the level of detail and intricacy that can be incorporated into the vector image.
Explore Different Fonts
When it comes to design, the selection of fonts plays a crucial role in shaping the overall aesthetic. Take the following steps to explore and choose the perfect font for your design:
- Variety: Investigate a wide range of fonts, including serif, sans-serif, script, and display fonts. Each font category has its own unique characteristics that can evoke different moods and styles;
- Experiment: Test various fonts by applying them to your design. Observe how each font influences the overall visual appeal, readability, and message conveyance;
- Consistency: Ensure that the chosen font aligns with the purpose and theme of your design. Maintain consistency by using complementary fonts throughout the project if necessary;
- Legibility: Consider the legibility of the font, especially when it comes to body text. Make sure the letters are clear and easy to read, even at smaller sizes;
- Uniqueness: Seek out fonts that provide a distinctive touch to your design, helping it stand out and leave a lasting impression.
Manipulate with Direct Selection Tool
After successfully vectorizing your text, the “Direct Selection Tool” (A) becomes a valuable resource for customization. With this tool, you can manipulate individual characters, unlocking a new realm of creativity. Consider the following steps when utilizing the Direct Selection Tool:
Selection: Use the Direct Selection Tool to select specific characters within your vectorized text.
Modification: Once selected, you can freely adjust the size, position, and shape of the characters, enabling precise customization.
Creative Freedom: Experiment with various transformations, such as stretching, skewing, or rotating individual characters. This tool empowers you to create unique and visually striking typography.
Fine-Tuning: Refine the appearance of your design by tweaking the anchor points and curves of each character. This level of control allows you to achieve the desired visual effect.

Maintain a Copy of the Original Text Layer
Before proceeding with the vectorization of your text, it is advisable to maintain a copy of the original text layer. By duplicating the text layer, you create a backup that can be referred to if needed. Follow these steps to ensure you have a safeguard:
- Duplicate the Layer: Right-click on the text layer and select the option to duplicate it. Alternatively, you can use keyboard shortcuts or the layer duplication function in your design software;
- Naming Convention: It is helpful to give the duplicated layer a distinct name, such as “Original Text” or “Backup Text.” This way, you can easily identify and differentiate it from the vectorized version;
- Organizational Benefits: Keeping a copy of the original text layer allows you to maintain an organized and structured workflow. You can toggle between the vectorized and original text layers as required, ensuring flexibility and ease of access.
Conclusion
In the world of graphic design, vectorizing text is an essential skill. This process, especially in a versatile tool like Adobe Illustrator, allows designers to resize, manipulate, and transport their designs without losing quality. By following the step-by-step guide and considering the pro tips, you can easily master text vectorization, giving you an edge in your design projects.