Mastering the Art of Layer Opacity in Procreate and Procreate Pocket
Welcome to the exciting world of digital art! In today’s discussion, we’ll delve into a critical tool in the Procreate suite – Layer Opacity. Both beginners and advanced users alike will find this guide informative and applicable.
From understanding the concept, to effortlessly changing it and managing it in the program, we’ve got you covered. We’ll also bring Procreate Pocket into the picture, teaching you how to control the visibility level on the go. Let’s get started, shall we?
Delving into the Concept of Layer Opacity in Procreate
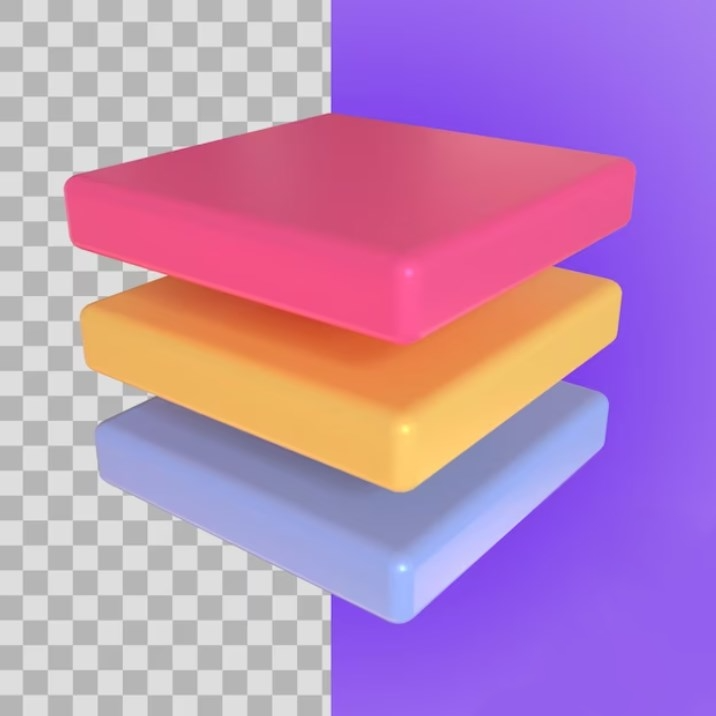
The digital art world is multifaceted, with tools and features designed to provide artists with a platform to express their creativity. Among these, layer opacity in the Procreate app is a vital feature for creating captivating artwork. This versatile tool determines the visibility or transparency of each artboard in a composition. In essence, it’s a measure of how much a layer hides or reveals the sheet below it. High layer visibility makes an artboard less transparent, hence more visible. Conversely, lower visibility increases transparency, revealing more of the underlying sheets.
While this might seem like a simple tool, the effective utilization of layer opacity can elevate the quality of your artwork. Visibility control allows artists to build intricate compositions, achieve a depth effect, and add a sense of realism to their artwork. Therefore, understanding layer opacity and its implementation is a fundamental skill in the realm of digital art.
Modifying Layer Opacity
Procreate is lauded for its intuitive interface and easy-to-understand tools. Among these, adjusting visibility control is a simple but powerful feature. Here’s an expanded step-by-step guide to help you adjust your transparency level:
- Open Procreate and launch your digital canvas;
- Tap on the Layers icon, located at the upper right corner of the screen;
- Your layers will be displayed. Select the one that requires adjustment;
- After selecting, you will notice an “N” icon appear. This is the button that leads you to the necessary settings;
- Upon tapping the “N” icon, an Opacity slider appears. Dragging the slider left reduces the opacity, making the sheet more transparent. On the other hand, dragging the slider right increases visibility, thus reducing the artboard’s transparency.
Remember, mastering layer visibility is all about experimentation. Trying different levels of transparency can lead to different effects, enhancing the overall appeal of your artwork.
Procreate Pocket: The Compact Art Studio
Procreate Pocket is a portable version of Procreate. Designed specifically for iPhone users, this compact app brings most of the powerful features of the iPad version, including layer opacity adjustment. This means you can create, tweak, and perfect your digital art on the go, with the same level of control and versatility as the full-sized app.
Like its larger counterpart, adjusting the visibility level in Procreate Pocket is a smooth process. Let’s delve into the specifics of managing layer visibility in Procreate Pocket.
Mastering Layer Opacity Adjustments in Procreate Pocket
Procreate Pocket follows the same intuitive design philosophy as the iPad version, making the process of adjusting the transparency level quite similar. Follow these next steps to adjust it in Procreate Pocket:
- Open your project in Procreate Pocket;
- Tap the Layers button;
- From the list, choose the one you want to adjust;
- Tap on the “N” icon, which will bring up the visibility settings;
- Use the Opacity slider to adjust the transparency to your desired level.
The key to mastering layer opacity in Procreate Pocket, like in Procreate, is trial and error. Adjusting and previewing different transparency levels can help you achieve the perfect visual balance in your artwork.
Leveraging Layer Opacity: Insightful Tips and Techniques
Understanding layer opacity is just the first step. The next is to strategically utilize this feature in your artwork. Here are some insightful tips:
- Using lower opacities can create a sense of depth or distance. This technique is particularly useful in landscape artworks, where you want to depict objects at different distances;
- Layer opacity can be a powerful tool for blending colors. By decreasing the visibility of a layer, you allow the colors of the underlying one to interact with the top one, creating a natural blending effect.
Shadows and highlights can be effectively rendered by adjusting the visibility of layers. A strategic application of layer opacity can add a realistic touch to your artwork by accurately depicting light and depth.
Further Insights and Recommendations for Layer Opacity Management
Mastering artboard visibility control is a powerful skill in your Procreate journey. However, remember that there’s no one-size-fits-all approach. Different artworks may require different strategies for layer opacity. Here are a few more insights:
- Experiment with pairing layer visibility with different blending modes to create complex visual effects;
- Transparency degree applies to individual brush strokes and the entire layer. This gives you more control and allows for more detailed adjustments;
- Don’t be afraid to experiment. Procreate’s undo function is always there if you need to revert any changes. Finding the perfect transparency level may require some trial and error, but the end results will be worth it.
With these techniques and insights at your disposal, you’re ready to create stunning artwork using Procreate and Procreate Pocket. Enjoy the creative journey and embrace the limitless possibilities that digital art offers!

The Interplay of Layer Opacity with Blending Modes
Procreate’s suite of tools offers an array of blending modes. When you combine the two, you open up a new dimension of creative possibilities. Blending modes essentially dictate how a layer’s colors interact with those underneath it, and adjusting the visibility further refines that interaction.
Here’s how you can experiment with blending modes and visibility levels:
- Open Procreate and your chosen digital canvas;
- Tap the Layers icon at the top right;
- Choose the layer you want to blend;
- After tapping the “N” icon on the selected option, you will see the blending options along with the slider;
- Choose a blending mode that fits your artwork’s needs, then adjust the transparency level of your selected artboard;
- Repeat this process with various blending modes and visibility levels to see a wide range of results.
Incorporating different blending modes with varying degrees of transparency will provide a unique touch to your digital art creations.
Utilizing Procreate’s Brush Opacity for Precise Detailing
While we’ve discussed layer opacity at length, Procreate also enables you to adjust the visibility of individual brush strokes – an excellent tool for precise detailing. By varying the transparency of your brush strokes, you can add intricate details, subtle transitions, and a depth of texture to your artwork.
To adjust brush opacity:
- Select the brush tool in Procreate;
- Choose your preferred brush;
- Adjust the Brush Opacity slider, located next to the size slider, to achieve the desired transparency;
- Start painting on your canvas and check the effect.
By adjusting brush opacity, you can create subtle variations in your artwork, whether it’s a soft transition of colors or a whisper of a shadow.

Experimenting with Layer Opacity for Unique Artistic Effects
Artistry thrives on experimentation, and playing with visibility levels in Procreate allows you to explore and create unique artistic effects. For example, by stacking multiple sheets with different visibility levels, you can simulate watercolor effects, create complex textures, or give the illusion of light diffusion.
Here are some creative exercises to experiment with:
- Layer two different colors with varying opacities to create a gradient effect;
- Create a texture layer and reduce its visibility to add depth and dimension to a flat color;
- Try creating a misty or foggy scene by painting layers of landscape elements and progressively reducing the visibility for each layer further back.
These exercises will enhance your understanding of layer opacity and help you uncover new creative styles and approaches. By mastering visibility control, you’ll open up a world of artistic possibilities in the realm of digital art.
Key Takeaways
| Section Title | Key Takeaways |
|---|---|
| Delving into the Concept | Layer opacity in Procreate dictates the transparency and visibility of artboards in your artwork. It is a crucial feature for creating depth, layered compositions, and realism. |
| Modifying in Procreate: Step-by-Step Guide | Adjusting artboard visibility control in Procreate is straightforward. You select the artboard to be adjusted, tap on the “N” icon, and use the Opacity slider to achieve your desired level of transparency. |
| Procreate Pocket: Your Portable Art Studio | Procreate Pocket is a smaller, portable version of Procreate, designed for iPhone users, which carries most of the features of the full-sized app. |
| Mastering Layer Transparency Adjustments in Procreate Pocket | Changing transparency levels in Procreate Pocket is similar to the process in Procreate. The “N” icon allows access to the slider to adjust the transparency of the selected layer. |
| Useful Tips and Techniques | Layer visibility can add depth, blend colors, and create realistic shadows and highlights. Different artworks might require different strategies for optimal results. |
| Further Insights and Suggestions for Effective Management | Layer opacity can be paired with blending modes for complex effects. You can also adjust visibility levels for individual brush strokes, not just entire layers. Experimentation is encouraged to achieve the best results. |
| Blending Modes | Combining layer transparency with different blending modes can create unique visual effects in your artwork. |
| Brush Opacity for Precise Detailing | Brush Opacity allows for control at the individual brush stroke level, providing additional flexibility and precision when adding details or subtle transitions. |
| Experimenting with Layer Visibility for Unique Artistic Effects | Experimenting with different layer opacities can result in unique artistic effects like gradient color transitions, texture creation, and simulating lighting effects. |
Conclusion
In wrapping up, the ability to manage layer opacity in both Procreate and Procreate Pocket is a transformative tool for your digital artistry. Grasping its fundamental role and mastering its manipulation will unlock a plethora of creative avenues, ranging from achieving complex compositions and depth, to creating a sense of realism in your digital creations.
However, the key isn’t merely understanding how it works, but knowing when and how to effectively apply it. Combining layer visibility with other functionalities such as blending modes, and controlling opacity on individual brush strokes can offer more nuanced control over your art.
Venture into the world of experimentation, as it’s through trying different things that you discover what works best for your unique art pieces. By integrating different layer transparency levels and strategies, using various blending modes, and controlling opacity at the granular level of brush strokes, you can create unique and eye-catching effects.
Now that you’re equipped with this knowledge and these techniques, you’re ready to dive deeper into the diverse and fascinating world of digital art with Procreate and Procreate Pocket. The adventure of digital artistry is truly a captivating and rewarding journey, where every new piece is a chance to learn, grow and create something extraordinary.