Transparent Background in Procreate: A Detailed Guide
Procreate, an advanced and dynamic iPad application, offers a broad spectrum of features. Its ability to work with transparent backgrounds is particularly appreciated by artists, designers, and illustrators, as it elevates their artwork to a professional level. This comprehensive guide will walk you through the use of transparent backgrounds in Procreate, featuring a meticulous step-by-step guide and addressing common FAQs.
Understanding Transparency in Digital Art
Before delving into Procreate specifics, it’s critical to understand what transparency in digital art means. Transparency refers to the property of an image, layer, or background being see-through or invisible, allowing whatever is beneath it to show through. This feature is a key element in designing overlays, logos, stickers, and other digital illustrations. It allows flexibility in composite designs and aids in making adjustments without impacting the whole image.
Procreate: A Brief Introduction
Procreate is a raster graphics editor app for digital painting, developed and published by Savage Interactive for iOS and iPadOS. Designed in response to the artistic possibilities of the iPad, it has been embraced by creative professionals and amateurs alike.
- Raster vs. Vector: Procreate works with raster graphics, which are pixel-based. Every pixel can be individually edited, leading to richly detailed artwork. This contrasts with vector graphics (as seen in apps like Adobe Illustrator), where images are mathematically rendered and resolution-independent;
- Layering: Procreate uses a layering system, similar to Adobe Photoshop. Layers allow artists to work on individual elements of a piece separately;
- Apple Pencil Compatibility: Procreate supports the Apple Pencil, providing artists with pressure sensitivity and tilt functionality, delivering a fluid, traditional drawing experience;
- Extensive Brush Library: Procreate offers an extensive collection of customizable brushes, allowing artists to achieve various effects and styles;
- Easy Export Options: Artists can easily export their work in various formats, including JPEG, PNG, PDF, TIFF, and layered files like PSD (Photoshop).
Creating a New Canvas with a Transparent Background in Procreate
- Launch the Procreate application on your iPad;
- On the main gallery view, click the “+” sign, which is found on the upper right corner of the screen;
- Select the option “Create Custom Size”;
| Canvas Property | Input |
|---|---|
| Width | 2000px |
| Height | 2000px |
| DPI | 300dpi |
- Locate the background color switch and toggle it off. This action ensures that the canvas background is transparent, not white;
- After confirming your settings, tap “Create.” A new canvas with a transparent background is now ready for you.
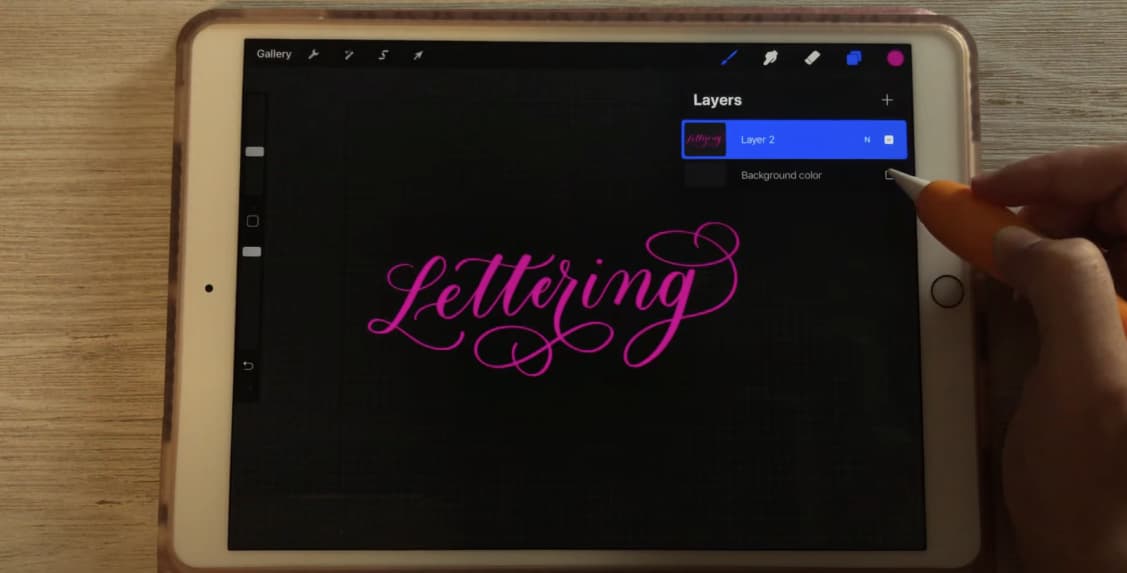
Working with Layers in Procreate
In Procreate, every new layer you create has a transparent background until you add something to it. This feature allows for intricate designs as it enables adding, removing, and adjusting components of the artwork without impacting the whole image.
Creating a New Layer
To add a new layer, tap the Layer button, denoted by two overlapping squares on the upper right of the screen, and select the ‘+’ sign. Once the new layer is added, you can adjust its position and customize its properties to enhance your design.
Deleting a Layer
If a layer is no longer needed, you can delete it. Swipe left on the layer and then tap ‘Delete.’ The layer will be removed, revealing anything beneath it. Deleting a layer allows you to streamline your project and modify the composition by removing unwanted elements.
Creating a Transparent Layer
Creating a transparent layer involves two steps: adding a new layer and not adding anything to it. However, if you’ve already added to a layer and want to make it transparent, you can adjust the layer’s opacity. To do this, tap on the layer to bring up the layer options, then use the opacity slider to adjust the level of transparency.
Understanding the Background Layer
The background layer is a unique and essential component in Procreate, serving as the foundation for your artwork. This layer is automatically generated when you create a new canvas in Procreate, and by default, it appears as a white layer. Let’s delve into its characteristics, functions, and limitations.
Characteristics of the Background Layer:
- Default Color: The background layer is initially set to a white color, which provides a blank canvas for your artwork. However, you have the flexibility to change its color according to your preference;
- Non-Transparency: Unlike regular layers in Procreate, the background layer cannot be made transparent. It always maintains its solid color, which can sometimes restrict certain design possibilities.
Functions of the Background Layer:
- Canvas Foundation: The background layer acts as the base layer for all other elements in your artwork. It provides a consistent backdrop against which your other layers and objects will be placed;
- Color Customization: While the background layer is not transparent, you can alter its color to suit your artistic vision. Procreate offers various color options, allowing you to create a customized background that complements your artwork.
Limitations of the Background Layer:
- Inability to Add Elements: The background layer differs from regular layers in that you cannot directly add elements or objects to it. It serves primarily as a static background canvas;
- Transparency Adjustment: If you desire a transparent background, you cannot achieve it directly with the background layer. Instead, you need to delete the background layer and work on a new regular layer set to a transparent background.
The background layer in Procreate is automatically created when you start a new canvas. It serves as the foundational layer with a default white color, which can be customized. However, it does not support transparency or the addition of elements. To create a transparent background, you must delete the background layer and work on a regular layer with a transparent setting.
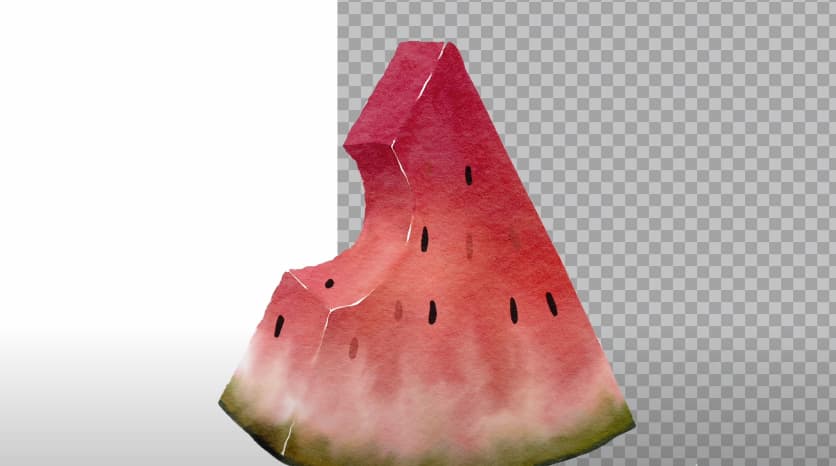
Exporting Your Artwork with a Transparent Background
When you’ve completed your artwork, you’ll want to keep the background transparent when exporting. Here’s how to do it:
- Click the Actions button, denoted by a wrench icon on the top left of your screen;
- In the Actions panel, select the Share tab;
- Choose a file format that supports transparency, such as PNG, TIFF, or PDF.
By following these steps, you’ll ensure that your artwork maintains its transparent background, ideal for uses like overlays, logos, or adding the artwork to different backgrounds later.
Common Issues and Solutions
While working with Procreate, you might encounter a few challenges related to transparent backgrounds. Here are some common problems and solutions:
| Problem | Solution |
|---|---|
| The artwork seems to have a transparent background in Procreate, but when exported, it shows a white background. | Make sure you’re exporting your artwork in a format that supports transparency, such as PNG, TIFF, or PDF. |
| You want to make a filled layer transparent. | Tap on the layer and adjust the opacity slider to the desired transparency. |
| The background layer can’t be toggled off. | Remember, you cannot turn off the background layer’s visibility. To work with transparency, create a new layer and work on it, and you can then delete the background layer. |
Conclusion
Procreate, the advanced iPad application, offers artists, designers, and illustrators the valuable feature of working with transparent backgrounds, enhancing the professional quality of their artwork. This comprehensive guide has provided a detailed walkthrough of using transparent backgrounds in Procreate, including step-by-step instructions and addressing common FAQs. Understanding the concept of transparency in digital art is crucial, and Procreate’s raster graphics, layering system, Apple Pencil compatibility, extensive brush library, and easy export options make it a versatile tool for creating stunning illustrations with transparent backgrounds.
By following the instructions outlined here, artists can effectively leverage Procreate’s capabilities to achieve their desired results and export their artwork with transparent backgrounds in formats such as PNG, TIFF, or PDF.
FAQS
Yes, Procreate supports transparent backgrounds. You can create a new canvas with a transparent background or adjust the background layer’s transparency. Also, layers in Procreate are transparent until you add something to them.
Yes, you can save images with a transparent background in Procreate. When exporting your artwork, ensure to save it as a PNG, TIFF, or PDF, as these formats support transparency.
PNG, TIFF, and PDF are the formats that support transparent backgrounds.
This issue typically arises when you export your image in a format that doesn’t support transparency, like JPEG. To maintain the transparent background, save your image as a PNG, TIFF, or PDF.